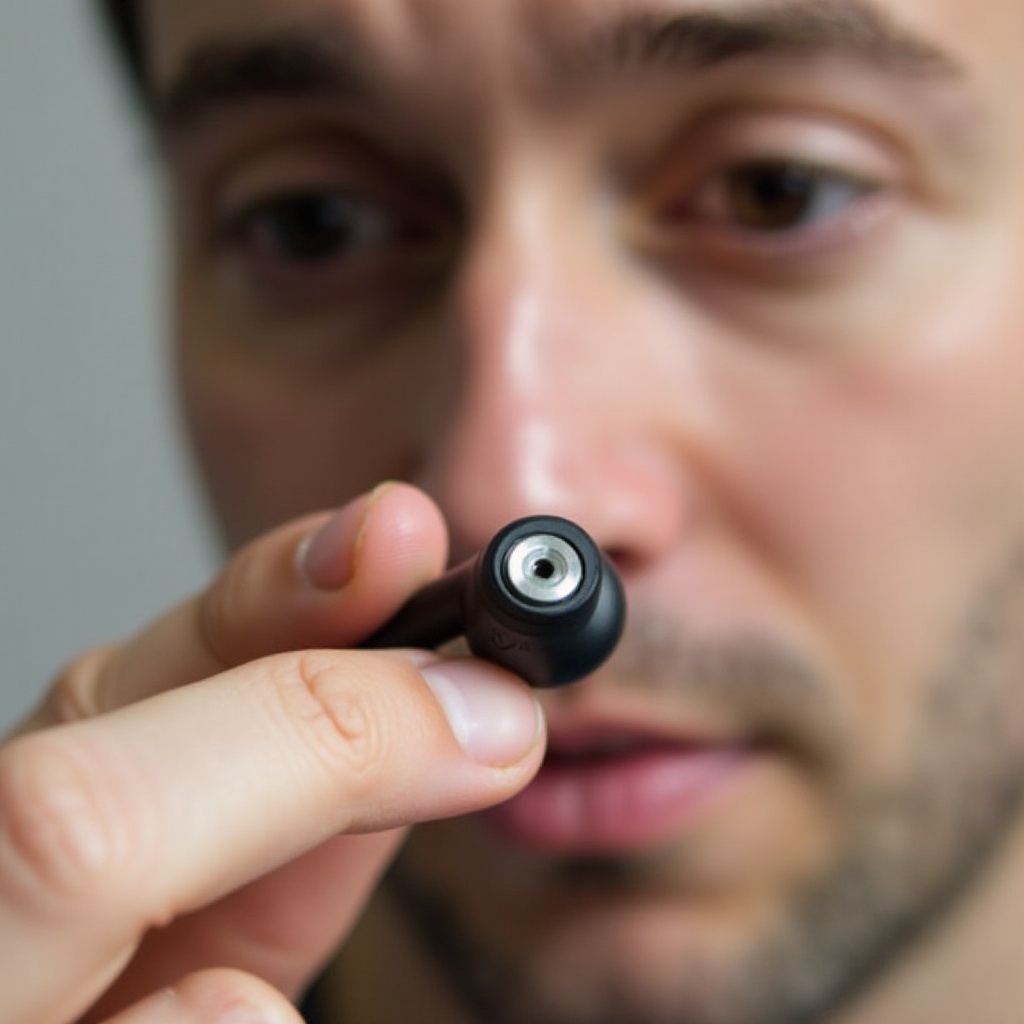
Raycon earbuds are favored for their sleek design and exceptional sound quality, catering to music enthusiasts who value convenience and portability. Nevertheless, encountering a malfunctioning right earbud can disrupt your listening experience significantly. This comprehensive guide equips you with effective troubleshooting steps and essential maintenance tips to ensure your Raycon right earbud resumes optimal performance.
Introduction
The satisfaction of using wireless earbuds stems from their ease of use and cord-free environment. Raycon earbuds offer an immersive audio experience, but when one earbud, particularly the right one, stops functioning, it compromises the entire experience. This guide is dedicated to identifying potential causes and implementing solutions to resolve the issue.
Earbud issues can arise from various factors, including connectivity, power, or hardware problems. Thoroughly identifying the root cause is essential for effective troubleshooting, allowing for seamless resolution of the issue without the need for professional assistance.
Why Raycon Earbuds Experience Issues
Despite the technological advancements in Raycon earbuds, they are prone to occasional malfunctions. The following are common reasons for the right earbud to stop working:
- Battery Depletion: A depleted battery can result in one earbud losing functionality.
- Connectivity Issues: Bluetooth interference might prevent the right earbud from pairing correctly.
- Physical Damage: Any damage due to exposure or mishandling may lead to internal component malfunction.
- Software Glitches: Outdated firmware and software bugs can cause your earbuds to malfunction.
Identifying these potential causes is crucial for targeting the correct troubleshooting approach, ensuring a smooth and effective resolution process.
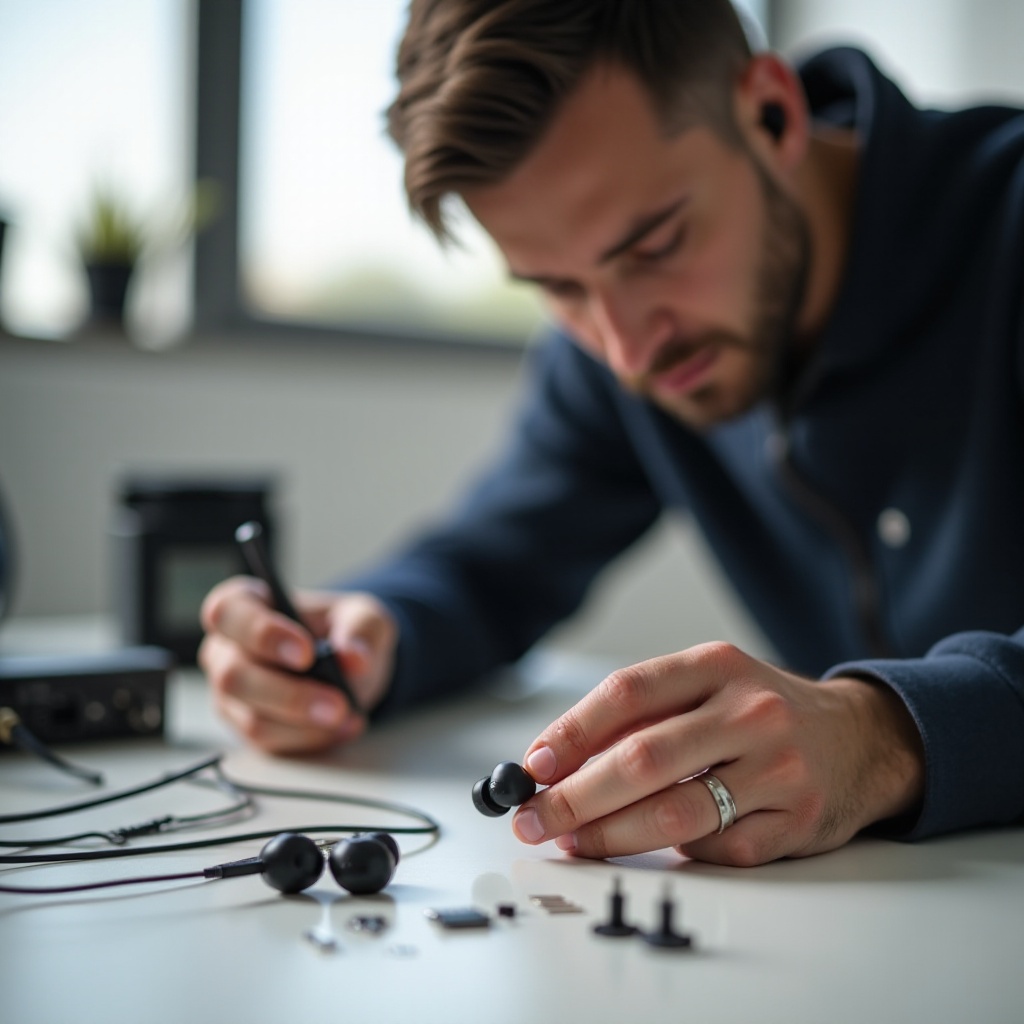
Basic Troubleshooting Steps
Implement these fundamental troubleshooting steps to address the issue of your Raycon right earbud not working:
-
Checking Earbud Placement and Fit: Ensure both earbuds are positioned correctly for optimal audio output.
-
Verifying the Charging Status:
- Place the earbuds in the charging case, confirming proper seating.
-
Check the charging indicator light to ensure the earbuds are charging.
-
Ensuring Proper Bluetooth Connection:
- Turn off your device’s Bluetooth and then turn it back on.
- In the Bluetooth settings, disconnect and reconnect the earbuds.
These initial troubleshooting steps often resolve common connectivity and power-related issues. If the problem persists, consider implementing the advanced techniques detailed in the following section.
Advanced Troubleshooting Techniques
For persistent issues, applying the following advanced troubleshooting techniques may prove helpful:
- Resetting Your Raycon Earbuds:
- Power off both earbuds by holding their power buttons.
-
Place the earbuds back into the case, then remove them to attempt a reset.
-
Updating Firmware: Check for the latest firmware updates using the Raycon app or website, ensuring your earbuds are up-to-date.
-
Testing on Different Devices: Connect your earbuds to an alternate device to determine if the original device is causing the issue. This step can confirm whether the problem lies with your earbuds or the primary device.
By addressing connectivity and software-related problems, these advanced methods can often restore full functionality to your earbuds. If the right earbud remains non-functional, focus on preventive maintenance or consider professional support.
Preventing Future Earbud Issues
Proper care and maintenance contribute significantly to the longevity and performance of your Raycon earbuds. Implementing preventive measures ensures they remain functional and reliable.
- Proper Cleaning and Maintenance:
- Regularly clean the earbuds with a dry, soft cloth; avoid liquids or solvents.
-
Clear any debris from the charging points in both the earbuds and the case.
-
Storage Best Practices:
- Store the earbuds in their case when not in use to protect them from damage and conserve battery life.
- Keep earbuds away from extreme temperatures and moisture to prevent damage.
Consistently following these preventive guidelines can help minimize future issues, ensuring your listening experience is seldom interrupted.
When to Seek Professional Help
If troubleshooting efforts prove unsuccessful, pursuing professional support may be necessary:
-
Identifying Hardware Problems: Diagnostic repair from a professional technician can address physical wear or internal component failure.
-
Contacting Raycon Support:
- Contact Raycon customer support for further assistance, repair options, or even a replacement.
- Have purchase information readily available when seeking warranty services or support.
Seeking professional assistance ensures remedial actions are precise and effective, especially when problem-solving is beyond typical DIY fixes.
Conclusion
Restoring functionality to your Raycon right earbud is achievable through systematic troubleshooting and proactive maintenance. These outlined steps guide quick resolutions and long-term care strategies to keep your earbuds performing exceptionally well. If further assistance is required, professional support ensures a comprehensive evaluation of more complex issues.
Frequently Asked Questions
Why is only one of my Raycon earbuds working?
Your Raycon earbud may not work due to a battery issue, connection error, or physical damage. Follow our troubleshooting steps to resolve these issues.
How do I reset my Raycon earbuds?
To reset, power off the earbuds by holding the power button. Place them in the charging case, then remove them—this simple action helps to reconnect them.
Can I fix a broken Raycon earbud myself?
Many issues can be self-fixed through troubleshooting. However, seek professional assistance for persistent issues or visible physical damage to your earbuds.